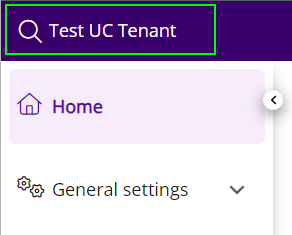
8.8 Accessing Swyx Control Center
Partner Level Administrators without a SwyxWare user account can access the settings of a UC Tenant for a limited time via Swyx Control Center. You can e. g. define settings for certified SIP phones via Swyx Control Center.
The authentication token is created automatically when a UC Tenant is created and is valid for one hour after creation. Reload the page to create a new token.
UC-Tenants must be assigned to a compatible Swyx Control Centerversion, see 7.9 Swyx Control CenterEditing-Assignments
For information on the administration of UC Tenants via Swyx Control Center, see the Swyx Control Center documentation:
For information on geoblocking, which prevents login with certain IP addresses, see List of all countries whose IP addresses are not blocked (Geoblocking).
UC Tenants V14.10 and higher can be accessed directly without a login dialogue via the list of UC Tenants. Authentication is carried out automatically.
The authentication information is stored in a session cookie. The session cookie is deleted when you log out of the Swyx Control Centre.
The authentication information is stored in a session cookie. The session cookie is deleted when you log out of the Swyx Control Centre.
The session cookie is not deleted when you log out of the SwyxON Portal session. This ensures that the Swyx Control Centre can continue to be used even after logging out of SwyxON.
To access Swyx Control Center directly
It is not possible to access two or more UC Tenants at the same time.

To access Swyx Control Center with login data (only before V14.10)
To access Swyx Control Center via the UC Tenant page
Label | Explanation |
|---|---|
UC Tenant network IP address | IP address for connection of the network with SwyxON |
Management network IP address | IP address for connection of the RMS with SwyxON |
Remote administration | IP address and port for remote access to the UC Tenant’s SwyxWare Administration, see 8.9 Accessing SwyxWare Administration. |
Authentication token | Token for accessing a UC Tenant’s SwyxWare Administration and Swyx Control Center |
Validity | Period of validity for the current token in minutes |