If you start SwyxIt! for the first time after installation and the logon with your Windows user account is not successful, a logon dialog is displayed. You can also call this up from the menu if necessary.
1 To open the logon dialog, select File | Login from the menu.
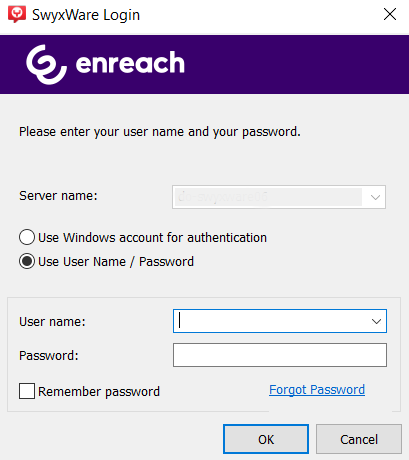
2 Enter the server name and your user name. This information is stored, and will be preset for the next logon.
3 Enter your password.
If you want SwyxIt! to save your password, activate the checkbox Remember password. The logon to the server then takes place automatically in future, and the logon dialog is no longer displayed.
4 Confirm the dialog field with OK.

You are logged on to the server and your user name is displayed in the SwyxIt! display.
In the event that your logon was not successful, the logon dialog is displayed with a prompt for the necessary correction. In this case, check whether the login data is correct, and your network connection is available.
You can obtain the login data from your administrator. The server name can be present as a name in text format, or in the form of an IP address.
If you want to use the login via a Windows user account again, you can also set that in this dialog. Therefore select the option Use Windows account for authentication.