In order to be able to carry out maintenance work on a line, for example, it may be necessary to temporarily deactivate one or more trunks within SwyxWare.
1 In the SwyxWare Administration, open the directory "Trunks".
In the list of trunks, highlight the trunk that is to be deactivated/activated.
2 In the context menu, select "Properties".
In each case, the "Properties of..." window will appear.
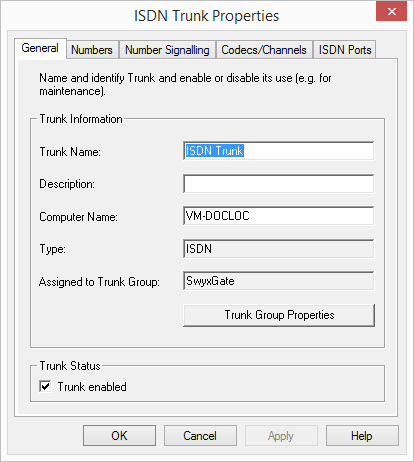
3 Deactivate the checkbox "Trunk enabled" on the "General" tab to block this trunk for further incoming or outgoing calls.
4 Click on "OK".
5 Select "Active calls" in the left side of the SwyxWare Administration window, and check whether telephone calls are still being made via this trunk. Under "Origination Device" or "Destination Device" this trunk is listed as long as it is being used for an existing connection.
6 If there are no active connections via the trunk, you can stop the associated SwyxGate service via the Service Manager.
To reactivate the trunk, use the Service Manager to start the service and then activate the trunk with the checkbox.
If you have deactivated a service (e.g. SwyxGate) on another computer, you must then start the service locally on the remote computer in the Service Manager.