2.6.9 Loop
With this action, an attempt will once again be made to connect a call to a certain destination number. The caller hears another announcement between the individual attempts. If the line is busy, the caller will hear a busy announcement defined by the system administrator.
The action is terminated

after a successful forwarding (call is picked up),
if the destination telephone number is busy,
by interrupting the connection (e.g. the caller goes on hook)
after the defined number of loops has been run through without success
nach Ablauf des Timeouts falls der Ruf nicht durchgestellt werden konnte.
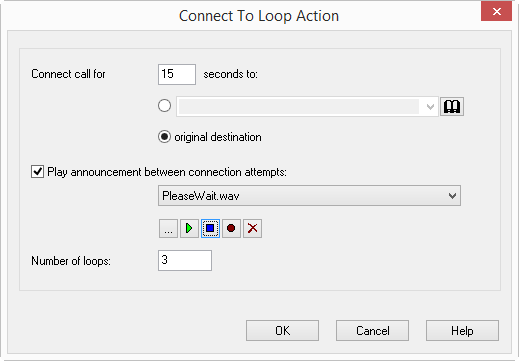
This is how you define the parameters for Connect To Loop
1 Indicate where the call should be transferred. The options include a telephone number, a symbolic name (if this has been recorded in the Phonebook) or the ”original destination”. You can also select the telephone number from the Phonebook or from the drop-down list.
2 Enter the amount of time which should be spent on attempting to reach the target telephone number in the field “Connect call for… seconds” (Timeout). If you enter a “0” here, the call will not be returned to you, but rather the connection attempt will continue “forever”. (Most telephone companies terminate a connection, which has not been picked up, after a certain amount of time, for example, Deutsche Telekom terminates such calls after two minutes).
3 Define the announcement.
You have several options:

From the dropdown list select a file.
Browse your hard drive by clicking on

.
Click on

, to listen to the selected file. Click on

to stop playing the file.
To record a new announcement, click on

: You will now be prompted to enter a file name. The “Start Recording” window will appear. Click on “Start” to begin recording the announcement. Stop recording by clicking on
.
To delete the selected file, click on

.
| The WAV files, which the administrator has made available to all users, have the extension “(Template)” in the file name. These templates cannot be deleted. |
4 Indicate how often the loop should be run through in the field “Number of Loops”.
5 Click on “OK”.