|
|
When SwyxIt! is updated, SwyxPLUS VisualContacts is not automatically installed. After an update, re-start the Setup and select “Modify” in order to start a customized installation. Then, activate the function "VisaulContacts AddIn".
|
|
|
When SwyxIt! is updated, SwyxPLUS VisualContacts is not automatically installed. After an update, re-start the Setup and select “Modify” in order to start a customized installation. Then, activate the function "VisaulContacts AddIn".
|
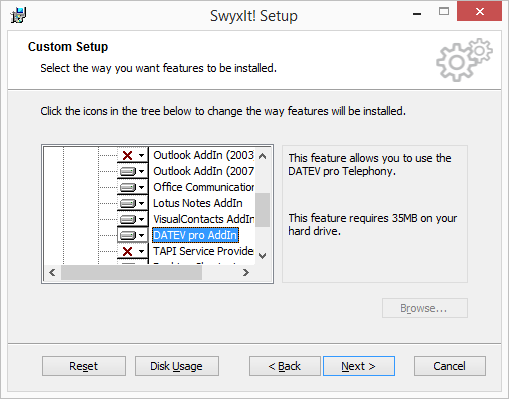
If DATEV pro is already present on the system, it is detected during the SwyxIt! installation and the necessary components are automatically installed at the same time. |
When SwyxIt! is updated, SwyxPLUS for DATEV pro is not automatically installed. After an update, re-start the Setup and select “Modify” in order to start a customized installation. Then, activate the function "DATEV pro AddIn". |
Your administrator has probably already assigned you the corresponding skin. |
The selected skin is also available to you on other PCs you log in to with your Windows login data. The skin is be loaded automatically then. |